The second step for adding a plan is adding Layers. These house the images of the property. These images should be clear enough to read and not so large that users struggle to read what is there. CAD systems create full and highly detailed images of properties which can be difficult to read. We suggest on large properties to break them down into manageable sections by layer.
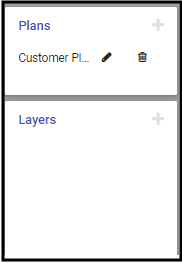
Adding a Layer
- Click the Plus sign (➕) on the upper right-hand corner of the Layers card.
- Enter the Layer Description. Be specific when possible. This helps users understand the information when viewing.
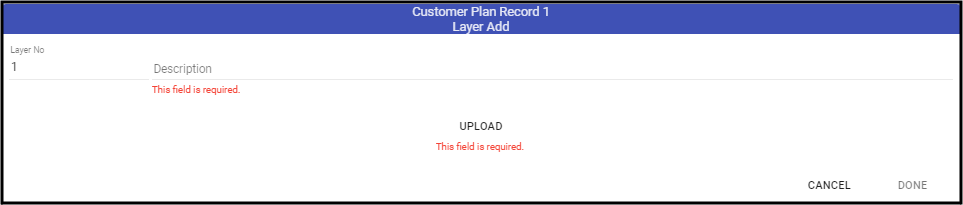
- Click Upload.
- Navigate to the location of the image and select it. Acceptable formats are: PNG, JPG, BMP, and TIFF. PNG and JPG are the most common and least impactful on your database.
- The image loads into the dialog.
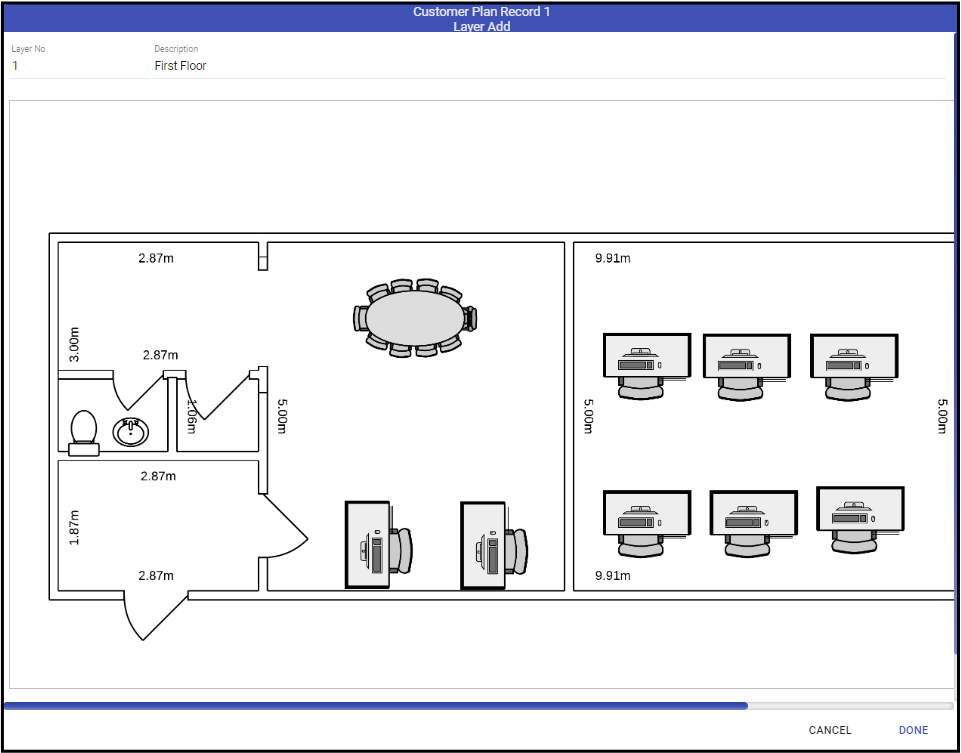
- If all looks good, Click Done.
- Repeat as necessary for each image layer.
- Remember to Save (💾).


After adding all Layers and saved, the available system features are visible for applying to the plans.