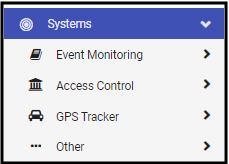
The Systems section of the Customer record contains all the equipment housed at the monitored location. Systems have four types:
- Event Monitoring - This is the most common system used in Manitou. This includes any traditional systems monitoring points and submitting those events to the monitoring center via an alarm receivers, virtual receivers, or directly to the system. These also include video monitoring systems.
- Access Control - Access Control Systems require the Access control service and the creation of Access control panels. Much like the Event Monitoring systems the Access Control creation requires a Description and, if available, a Panel Type.
- GPS Tracker - GPS Tracking Systems require GPS service and licensing with a mapping service to view and pinpoint the locations. Also much like Event Monitoring systems the GPS Tracking system creation requires a Description and, if available Panel Type.
- Other- The other System option allows your organization to track other systems at the monitored location. Other systems do not contain any signaling transmitters.
Adding A System
- Select Systems on the left-hand form navigation.
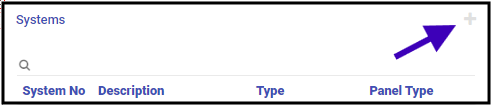
- Click the Plus sign (➕) to add a new System.
- Validate the password of who is adding the system. (If requested by customer, select the appropriate user and password to validate.)
- Select the System Type.
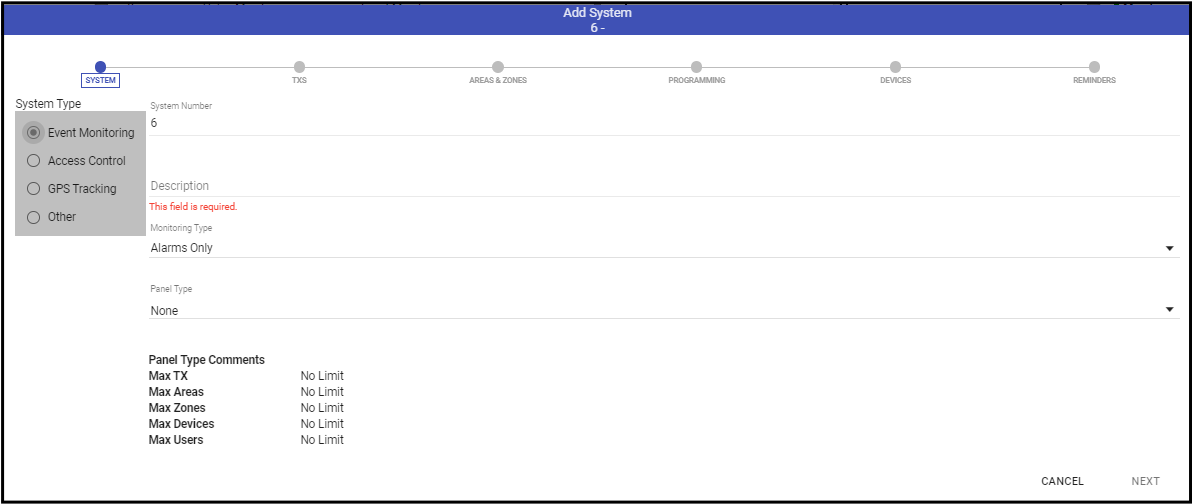
- The System Number is assigned by the database automatically. This is a unique counting number assigned to each new System added to the account.
- Enter the Description.
- Select the Monitoring Type. This is the service used to enable or disable alarm delivery to alarm operators and billing.
- If desired, select the Panel Type used for this system.
- When all is entered correctly, click Next.
- Click ADD to add a Transmitter to this System.
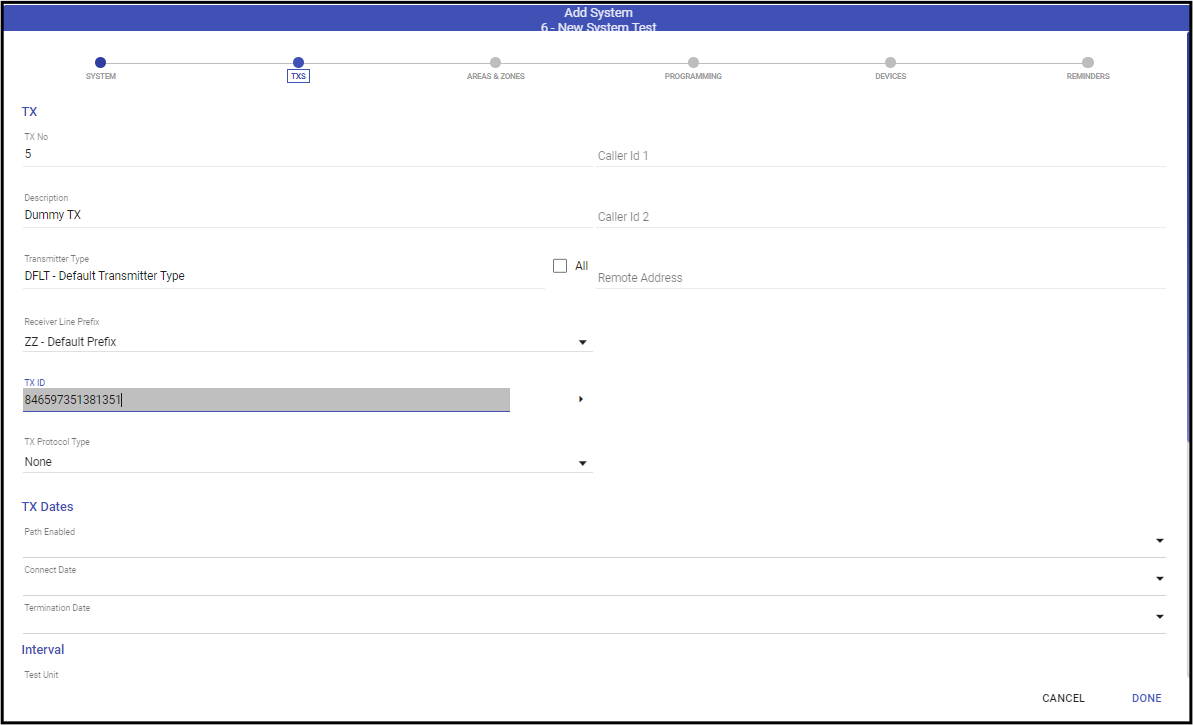
- The Transmitter Number is assigned by the database automatically. This is a unique counting number assigned to each new System added to the account.
- Enter a Description of the System. See the company data management team for description standards.
- Select the Receiver Line Prefix to identify where Manitou looks to match to this account.
- Enter the Transmitter ID. This is the panel ID number of the item in the field sending signaling to Manitou.
- If available, select the Transmitter Protocol Type.
- Optional Items to add:
- TX Dates
- Path Enabled Date - The date the installer installed the system at the monitored location.
- Connect Date - The date the installer verified connection from the monitored site to the monitoring center.
- Termination Date - Can be set to the future. The date the system should be removed from monitoring. This does not stop any services or remove the transmitter.
- Interval
- When the account has a test interval, select the Unit. This adds the Transmitter Test services automatically based on the interval selected.
- Please note! When Test intervals are set to DAYS such as 7 Days and the account generates a Late to Test, Manitou's Signal handler will generate a Late to test every 24 hours until the test is statisfied. If this is not the desired behavior, set your intervals to periods of hours instead of days. (Be sure you are in compliance with any of your UL or local requirements before making this change.)
- When the account has a test interval, select the Unit. This adds the Transmitter Test services automatically based on the interval selected.
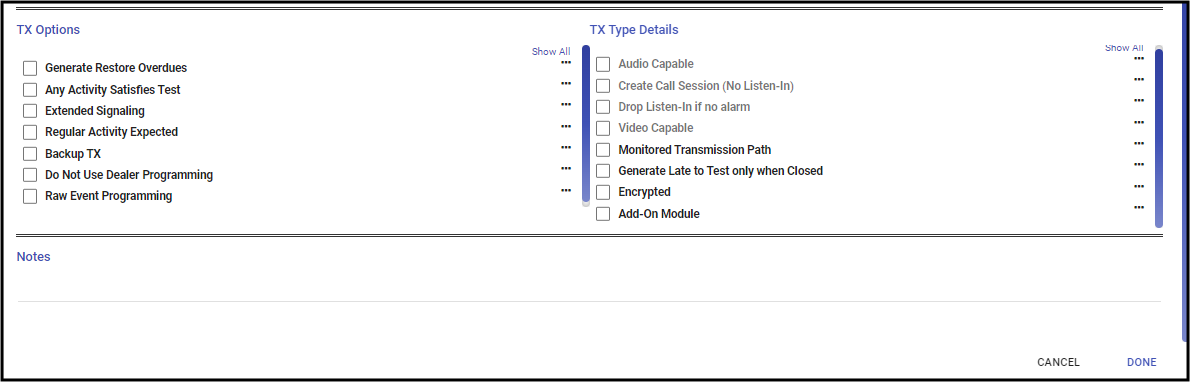
- TX Options
- Generate Restore Overdues - Allows the programming of event for timed restore overdue. This is commonly added to Fire, DoD, or UL accounts. This adds a service for Restore Overdue service for billing.
- Any Activity Satisfies Test - Any signal traffic from the monitored location satisfies the Transmitter Test intervals.
- Extended Signaling - Used rarely. When needed, this allows the programming of multiple events to make a single events.
- Regular Activity Expected - Used for UL Accounts. This notes the account should receive regular activity.
- Backup TX - This transmitter is a backup to another.
- Do not Use Dealer Programming - Overrides the event actions programming to assign the Action patterns to use for alarm processing, preventing the use of items on the Dealer record.
- Raw Event Programming - Not Recommended. This allows the overriding of the signal programming on the account based on the raw event details such as Contact ID, DMP, SIA, or the like, signals mapped in the Event Maps. This prevents the automation of many signal processing events tied to event codes.
- TX Type Details - Populated from the Transmitter Type selected and not editable on the Customer.
- Notes - Any information related to the Transmitter. Often this is used to include information about MAC address or physical location of the Transmitter.
- Caller ID 1 & 2, or Remote Address - This tracks the specific caller ID or IP Address sending the signals.
- TX Dates
- When all items for the Transmitter are entered as necessary, click Done.
- Add any additional Transmitters as needed.
- After adding all necessary Transmitters, click Next.
- Add any applicable Areas and Zones.
- When done, click Next.
- Add any applicable Programming for the system.
- When done, click Next.
- If necessary, add any Devices.
- When done, click Next.
- If necessary, add any Reminders.
- When done, click Done.
- Save (💾) the Record.


Editing a System
- Select the portion of the System to update.
- Click the pencil (✏️) icon to edit.
- Make the appropriate changes.
- Save (💾) the record.