Customer Monitoring Services are automatically added to the customer account based on the data entered. There are a few items that may be added manually to the Customer Monitoring services. 
Adding Monitoring Services to a Customer
- Load the Monitoring Services form found on the left-hand form navigation within the customer record.
- Select the Monitoring Service Group.
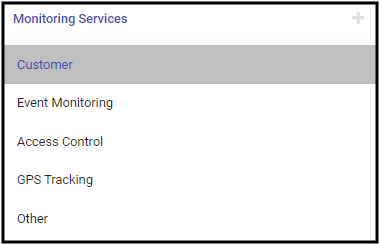
- Customer - Includes Customer record specific items such as Lone Worker, Executive Protection, and Bold NotifyMe.
- Event Monitoring, Access Control, GPS Signaling, or Other - Includes the 2-trip Signaling and Verify Open/Close Users.
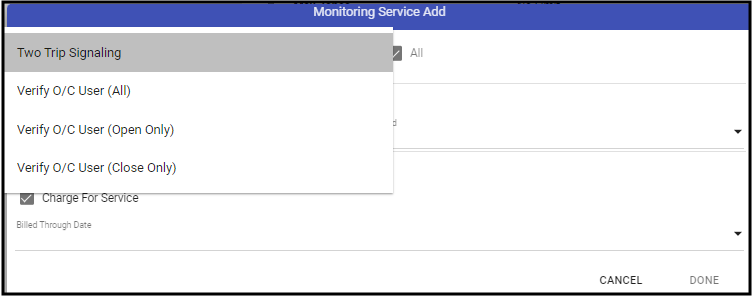
- 2-Trip Signaling - This can automatically add based on Transmitter Programming commands but ,may also be manually added.
- Verify Open/Close user sets the Open/Close events to alarm based on the selected stated. This is often used for UL accounts and Banks where the person who disarms, or arms, the system must be manually verified at the site.
- Verify O/C User - Triggers all Open/Close events as alarms for contact verification.
- Verify O/C User (Open Only) - Restricts the alarm events to ONLY Open (disarm).
- Verify O/C User (Close Only) - Restricts the alarm events to ONLY Close (arm).
- Click the Plus sign (➕) to add a Service.
- Select the Service to add.
- Set the parameters as necessary.
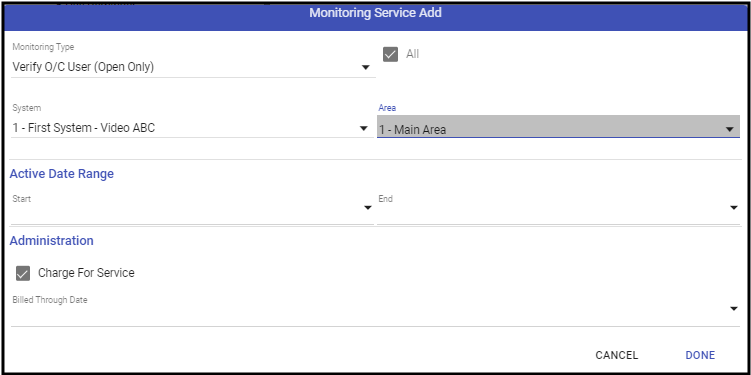
- If the service is chargeable, select Charge for Service.
- If the service ends on a specific date, set the Billed Through Date.
- When completed, click Done.
- Repeat as required.
- When done, click Save (💾).


Edit or Remove a Monitoring Service
- Load the Monitoring Services form found on the left-hand form navigation within the customer record.
- Select the Monitoring Service to update or remove.
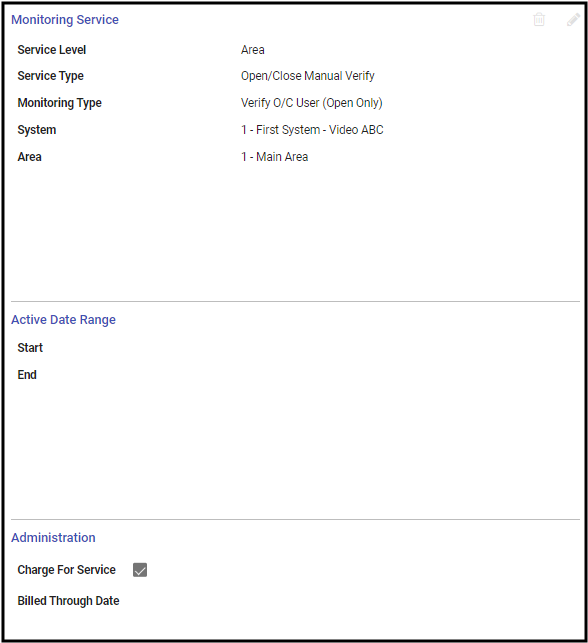
- If the service may be removed in the Monitoring Services form, the Trash (🗑️) icon is available for selection.
- To Edit a Monitoring service, click the pencil icon (✏️).
- Make the desired changes.
- Click Done.
- Save (💾) the Record.
